
This tutorial walks through installing Joomla on a typical shared or VPS hosting environment. The goal is a clean, predictable installation that gives you a stable base for configuration and content building—not a rushed setup that causes issues later.
Before You Start
I won't take you through the process of setting up a hosting account or domain management, per se, but I will take this opportunity to give you a few prerequisites.
- Access to your hosting control panel (cPanel, Plesk, or similar).
- A domain or subdomain that is already pointing to your hosting account.
- Ability to upload files via File Manager or FTP.
- Basic familiarity with creating databases in your hosting panel. Your hosting control panel makes this easy.
Step 1: Confirm Hosting Requirements
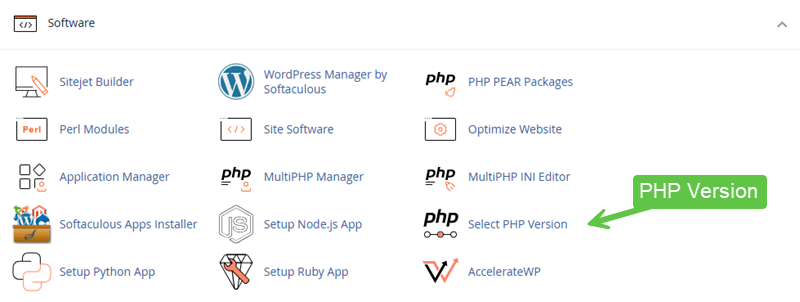
Before uploading anything, confirm that your hosting environment meets Joomla’s current requirements. This will depend on the version of Joomla you are installing. At the time of writing this tutorial, Joomla is currently on version 6.0.2.
Minimum Requirements to Check
- PHP version supported by the current Joomla release
- MySQL or compatible database (MariaDB)
- Ability to modify file permissions if needed
Using outdated PHP versions or restricted hosting environments is a common source of early instability.
Step 2: Prepare the Installation Location
Decide where Joomla will be installed:
- Primary domain (for example,
example.com) - Subdomain (for example,
site.example.com) - Subdirectory (for example,
example.com/site)
Ensure the target directory is empty or contains only files you intend to replace.
Step 3: Upload the Joomla Files
Download the official Joomla package and upload it to your hosting account.
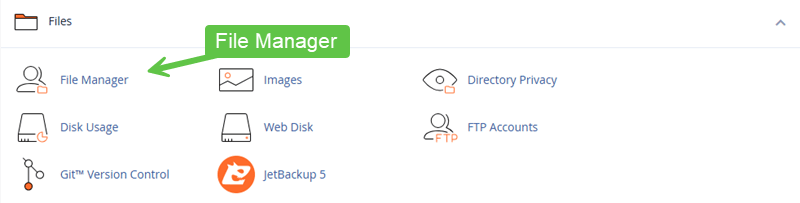
Common Upload Methods
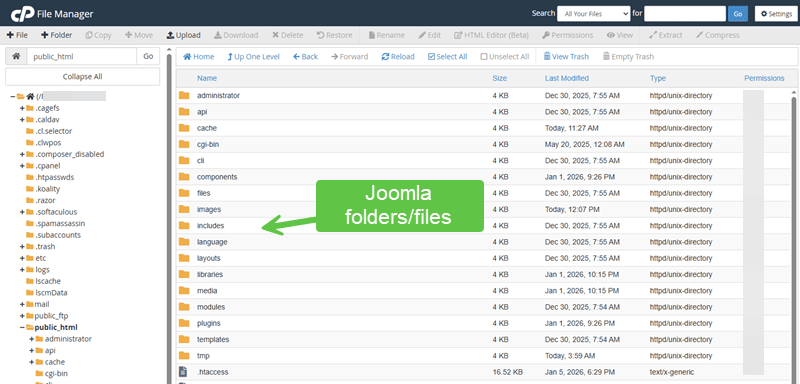
- Using your hosting control panel's File Manager, upload + extract
- FTP upload (slower, but reliable and more hands-on control)
After uploading, extract the archive so the Joomla files are accessible from the web root.
 aa
aa
Step 4: Create the Database
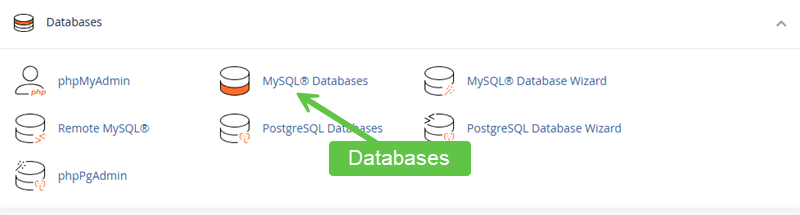
Joomla requires a database to store content and configuration.
Database Setup Checklist
- Create a new database
- Create a database user
- Assign the user to the database with full privileges
- Record database name, username, password, and host
Using a dedicated database per Joomla site simplifies maintenance and backups.
Step 5: Run the Joomla Web Installer
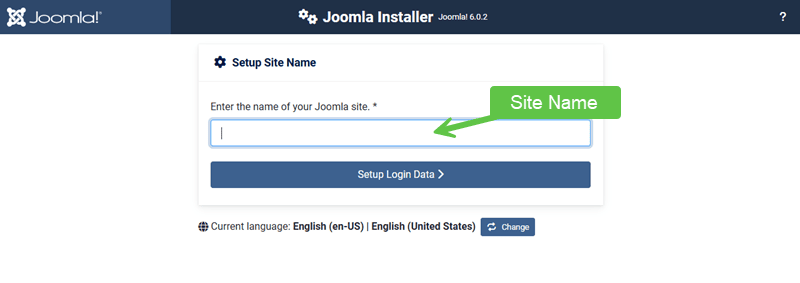
Visit your site’s URL in a browser. The Joomla installer should load automatically.
Installer Stages
- Configuration: Site name, admin user, admin email
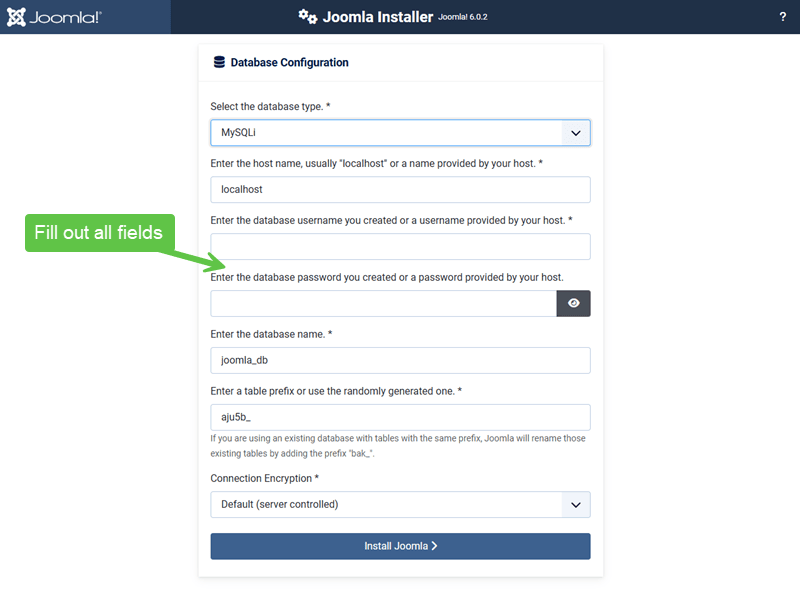
- Database: Enter database connection details
- Overview: Review settings and begin installation
Use a strong administrator password and a valid email address you control.

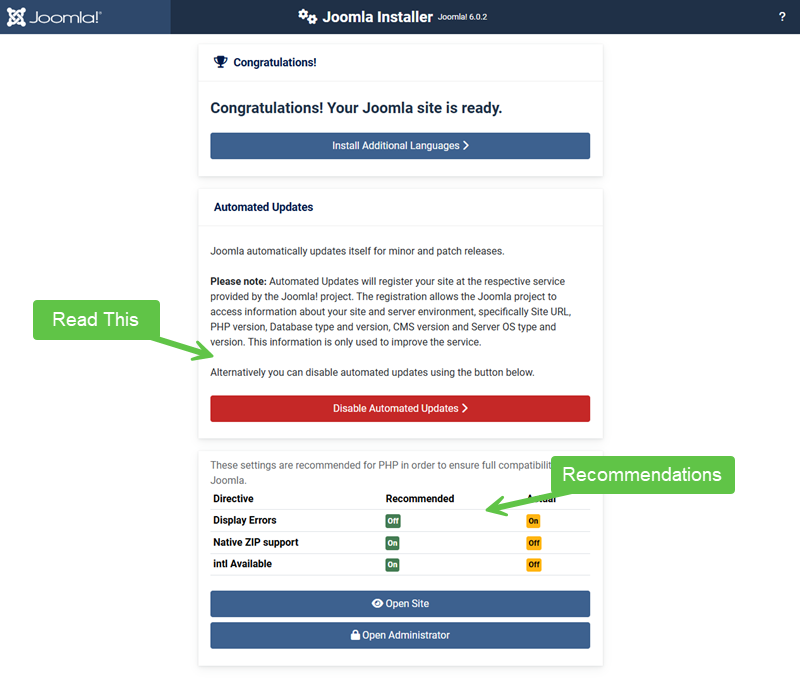
Step 6: Complete Installation and Secure the Site
Once installation finishes:
- Remove the
installationdirectory if prompted - Confirm access to the Administrator area
- Verify the front-end loads without errors
Leaving the installation folder in place is a security risk.
Post-Installation Checks
Before moving on to configuration, confirm:
- The administrator dashboard loads correctly
- No warnings or errors appear
- Server information reflects expected PHP and database versions
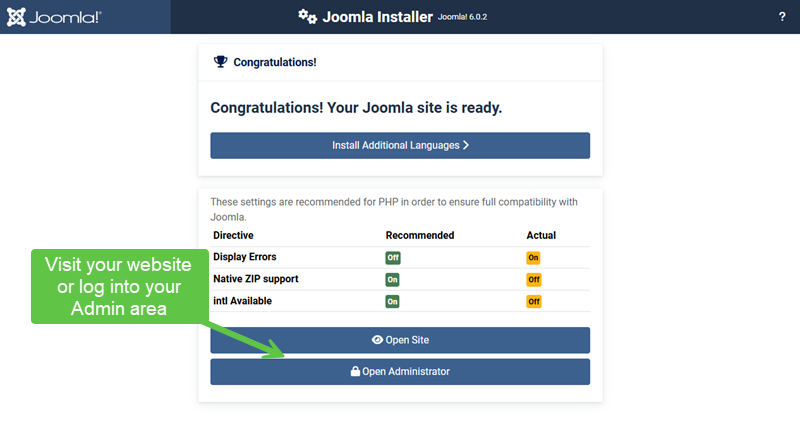
Verify Your Results
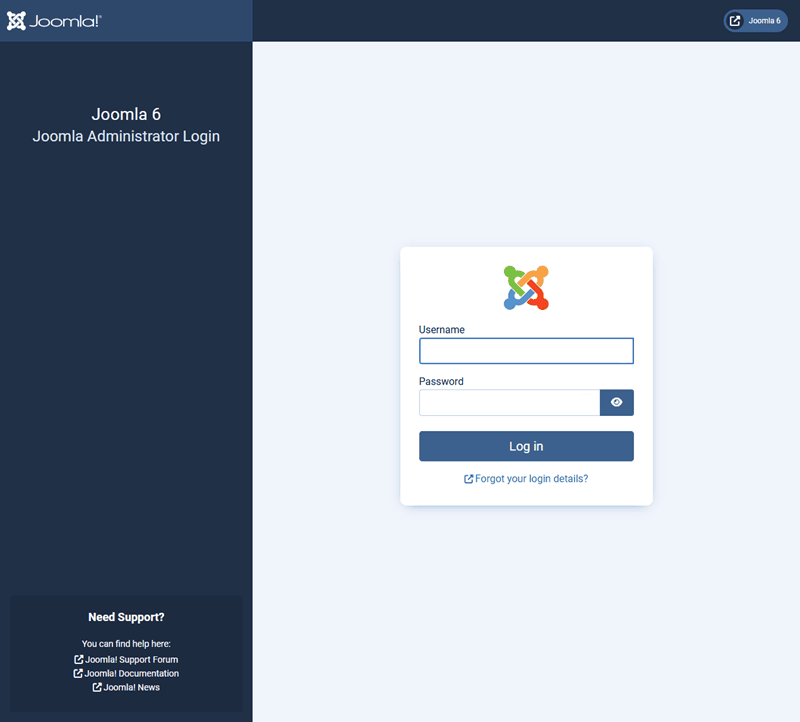
- You can log in to the Joomla Administrator.
- The front-end displays the default site.
- The installation directory has been removed; if it was prompted.
- No unexpected warnings are present.
Common Issues
- Installer does not load: Check file extraction and document root.
- Database connection errors: Recheck database credentials and host.
- Permission warnings: Review file and folder permissions.
Related Tutorials / Next Steps
- Next: Initial Joomla Configuration After Installation
- Choosing Core Settings That Affect Stability
- What to Review Before Building Content
A careful installation sets the tone for everything that follows. Taking a few extra minutes here often saves hours of troubleshooting later.